How to Edit Dial-in Registration Page
Last updated: March 12, 2025
You can access the Dial-in page editing tools from the left sidebar under Live → Teleconference settings.
Under Dial-in Registration Settings, you will find a button called Edit Dial-in Page, which opens the page editor.
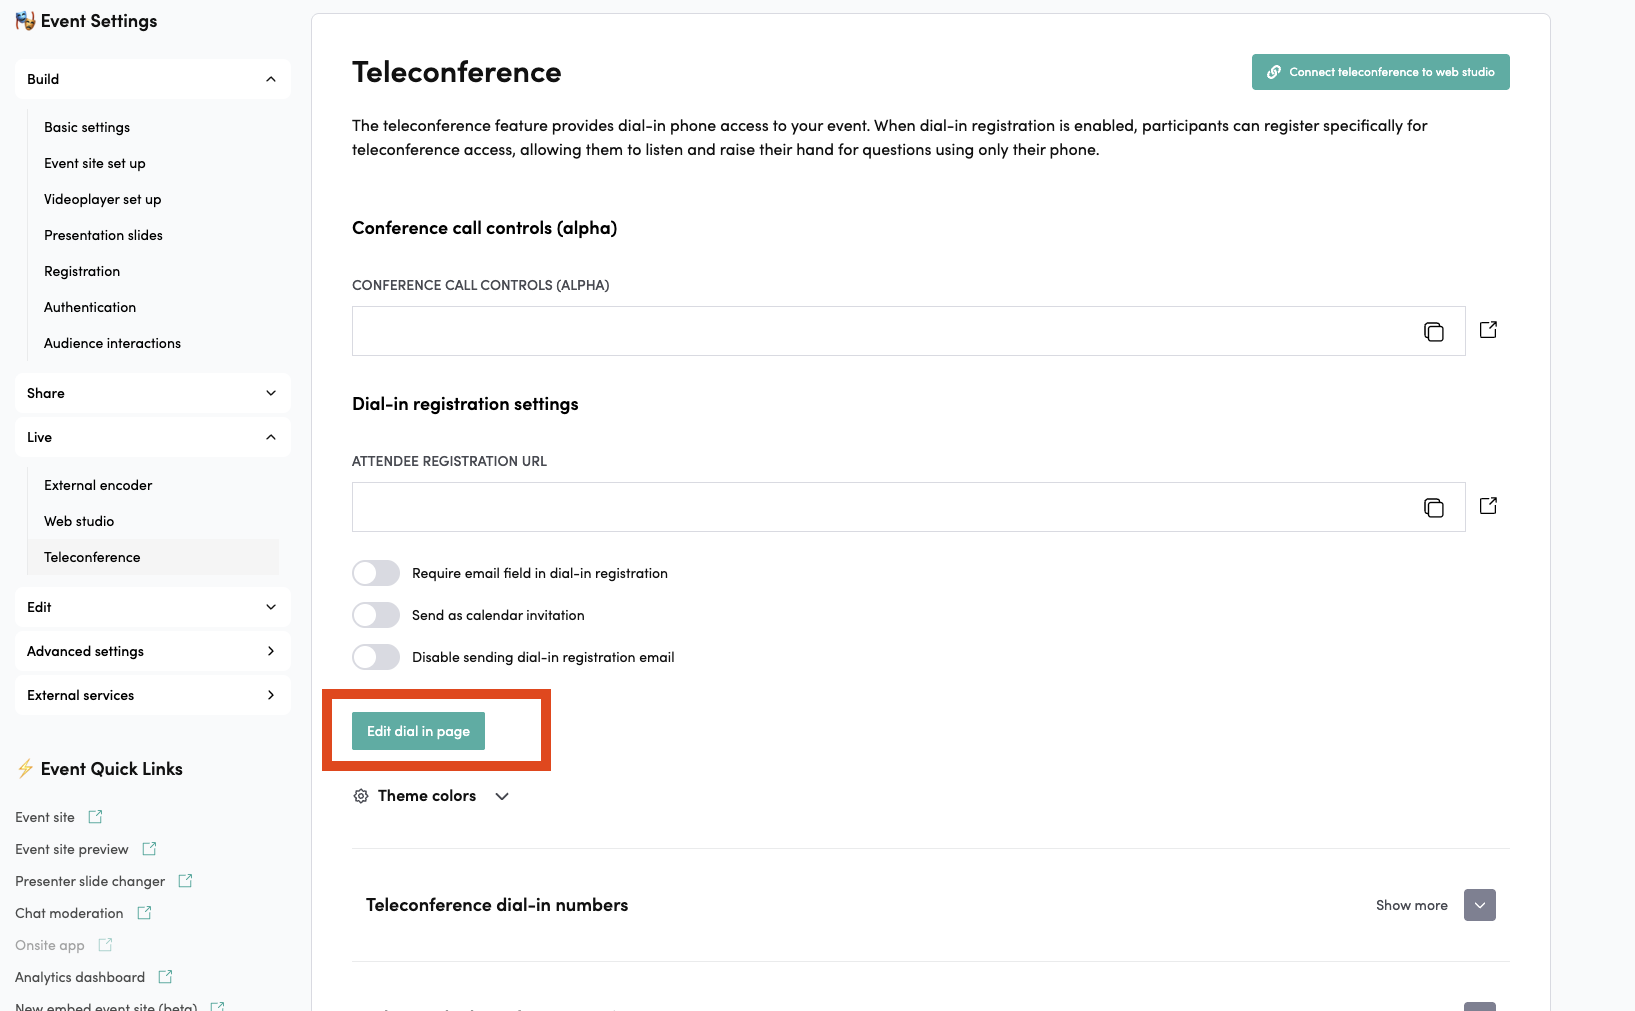
Dial-in Registration Settings
These settings allow you to control how users register via the Dial-in page:
-
Require email field in dial-in registration
Requires every user registering through the Dial-in page to provide an email address.
-
Send as calendar invitation
Sends a calendar invitation to the user if they provided an email address.
-
Disable sending dial-in registration email
Prevents the system from sending the automatic registration email.
In this section, you also have access to the theme color settings for customizing the Dial-in page appearance.
Theme Colors
The site uses themes, meaning that each page defines which colors its components will use.
Theme Color Usage Documentation
Background
- Purpose: Main background color of the page/app.
- Usage:
- Page backgrounds, input fields, button backgrounds
- Tooltip backgrounds (together with
foregroundtext) - Audio player control backgrounds
- Chat message backgrounds
Foreground
- Purpose: Primary text color across the site.
- Usage:
- Body text, headings, icons
- Button text on
backgroundbuttons - Input field text
- Navigation text
Card
- Purpose: Surface/container backgrounds elevated above the main background.
- Usage:
- Headers, footers, chat areas, registration forms
- Modals, popovers, dropdowns
- Speaker cards, schedule items, download panels, participation details
- Most UI component backgrounds (e.g., buttons, inputs when not transparent)
Primary
- Purpose: Brand/accent color for interactive elements.
- Usage:
- Active/hover/focus states
- Links, selected items, chapter indicators, raised-hand state
- Search highlights
- Scrollbar thumbs
- Submit buttons (text on
foregroundbackground) - Active chat/transcript indicators
- Social media button hover borders
Muted
- Purpose: Subtle and secondary text or information.
- Usage:
- Timestamps, placeholders, secondary labels, disabled states
- Inactive icons, audio visualizer bars
- Secondary button text
- Dropdown chevron icons
Destructive
- Purpose: Error, warning, or danger states.
- Usage: Delete buttons, error messages, warning tooltips
- Note: Use sparingly for critical actions.
Border
- Purpose: Borders for all UI elements.
- Usage:
- Component outlines, dividers, separators
- Focus states (together with
primaryfor active borders) - Cards, buttons, inputs, modals, dropdowns, sections
Border Radius
- Purpose: Defines the corner rounding of UI components.
Editing the Dial-in Page
You can access the page editor by clicking “Edit Dial-in Page.”
The new builder should look something like this. In the new editor, you’ll find the available page components on the left side, and the settings for the selected component on the right.
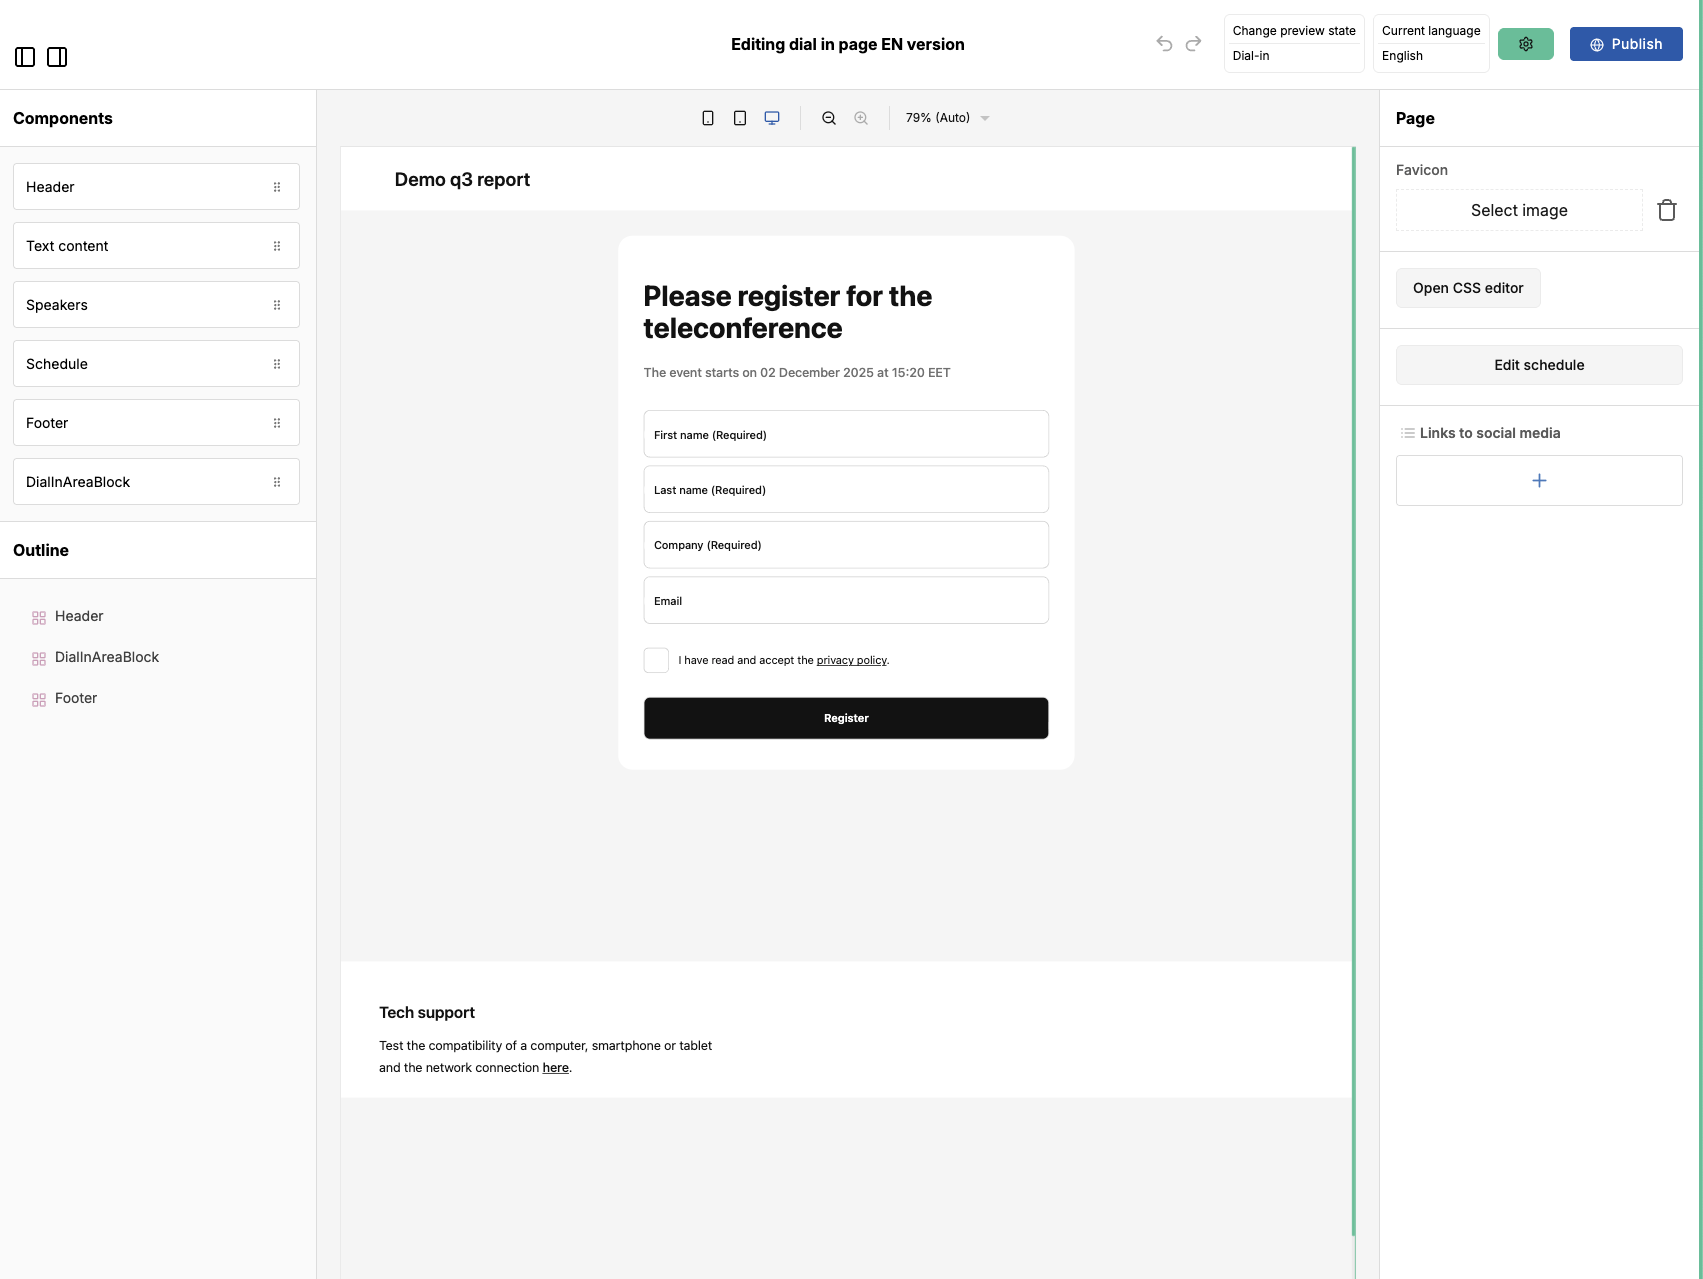
The CSS editor can always be found under the page settings or from the bottom bar by clicking the drag icon. (You can access the page settings by clicking on the page.)

You can switch between different event stages from under Change Preview State. Next to it, you can also see the language to which the page text defaults. You can change the page language here if you have created pages in multiple languages.

From the settings wheel, you can create new language versions, or delete the pages for the selected language or all languages.
Next to the settings wheel, Publish saves the page, and View opens the page.
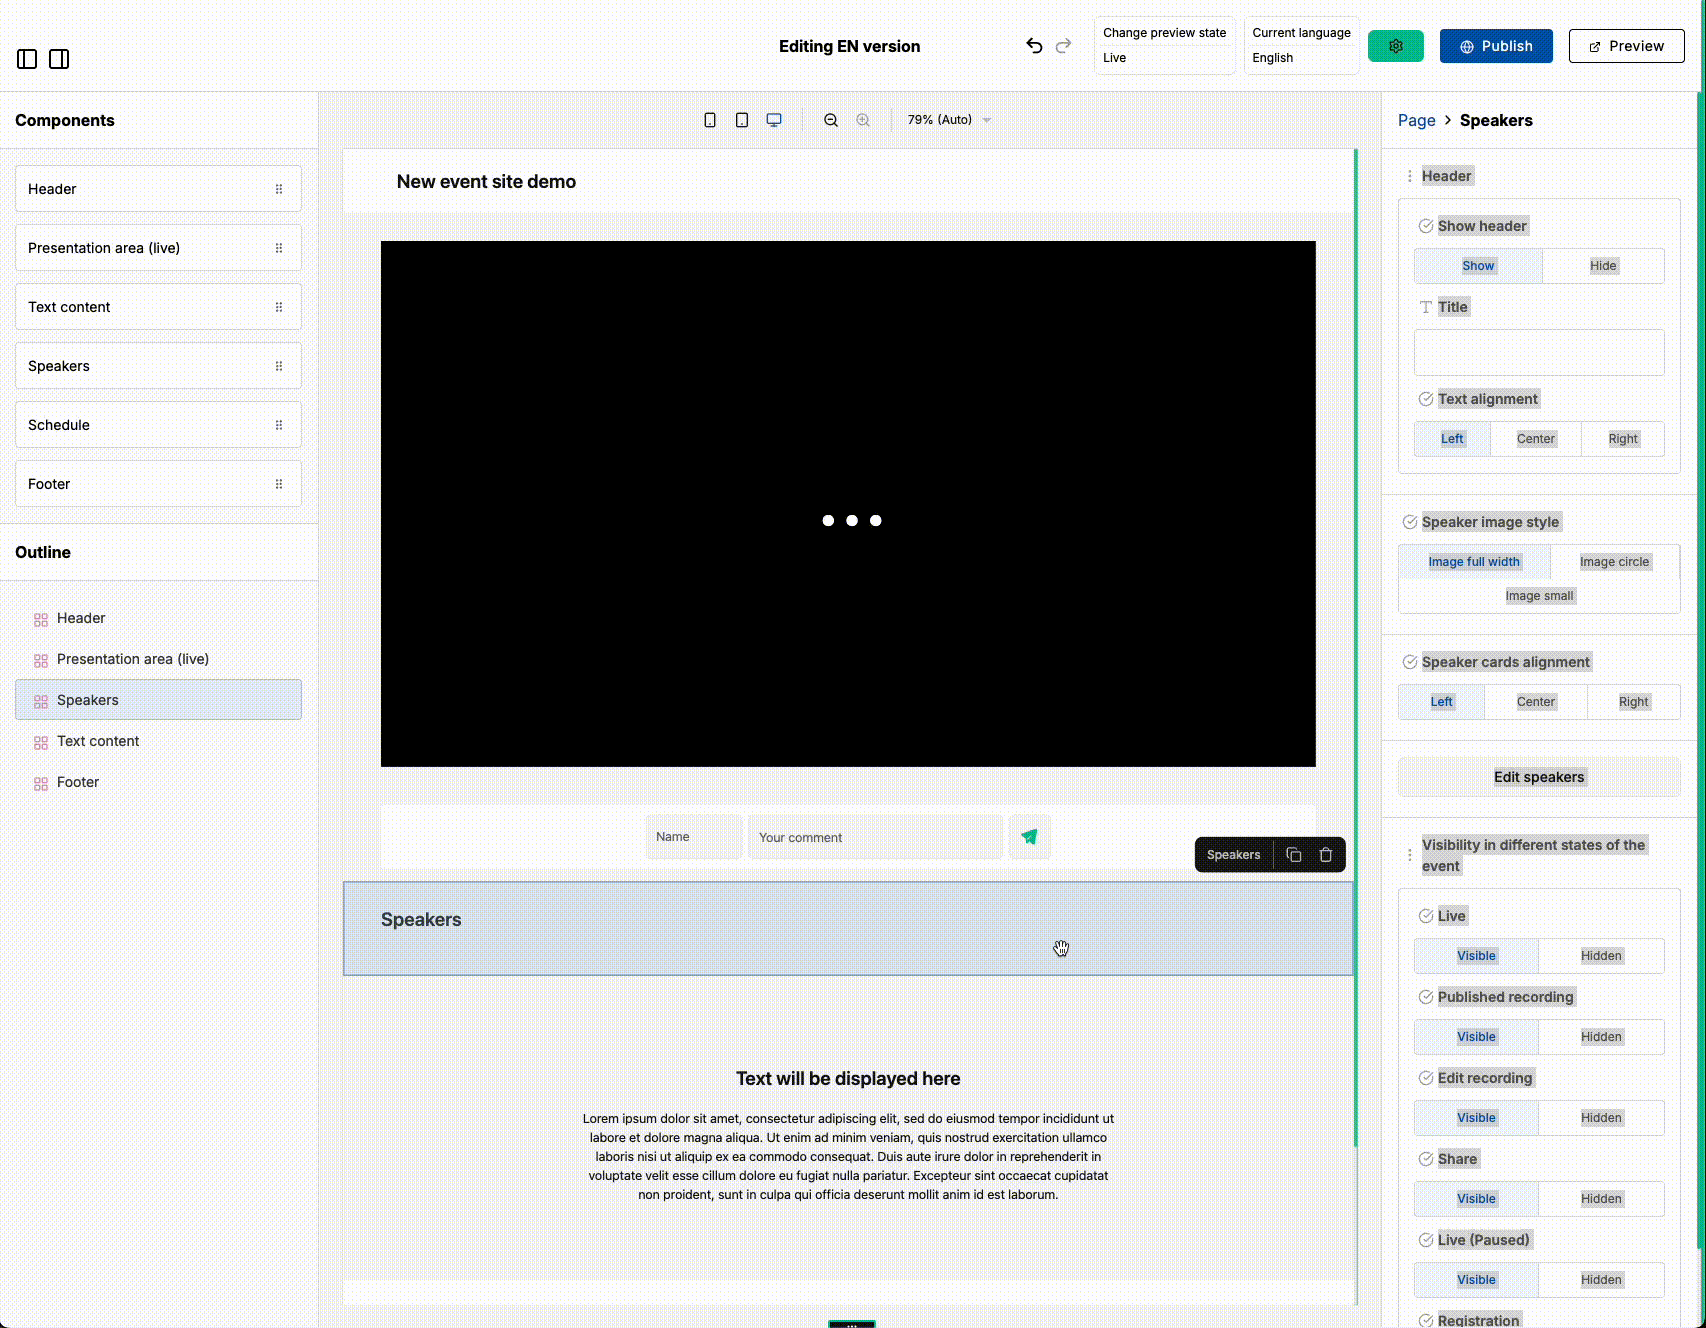
In the new editor, you can add new components to the page by dragging them from the left side into the page area in the center.
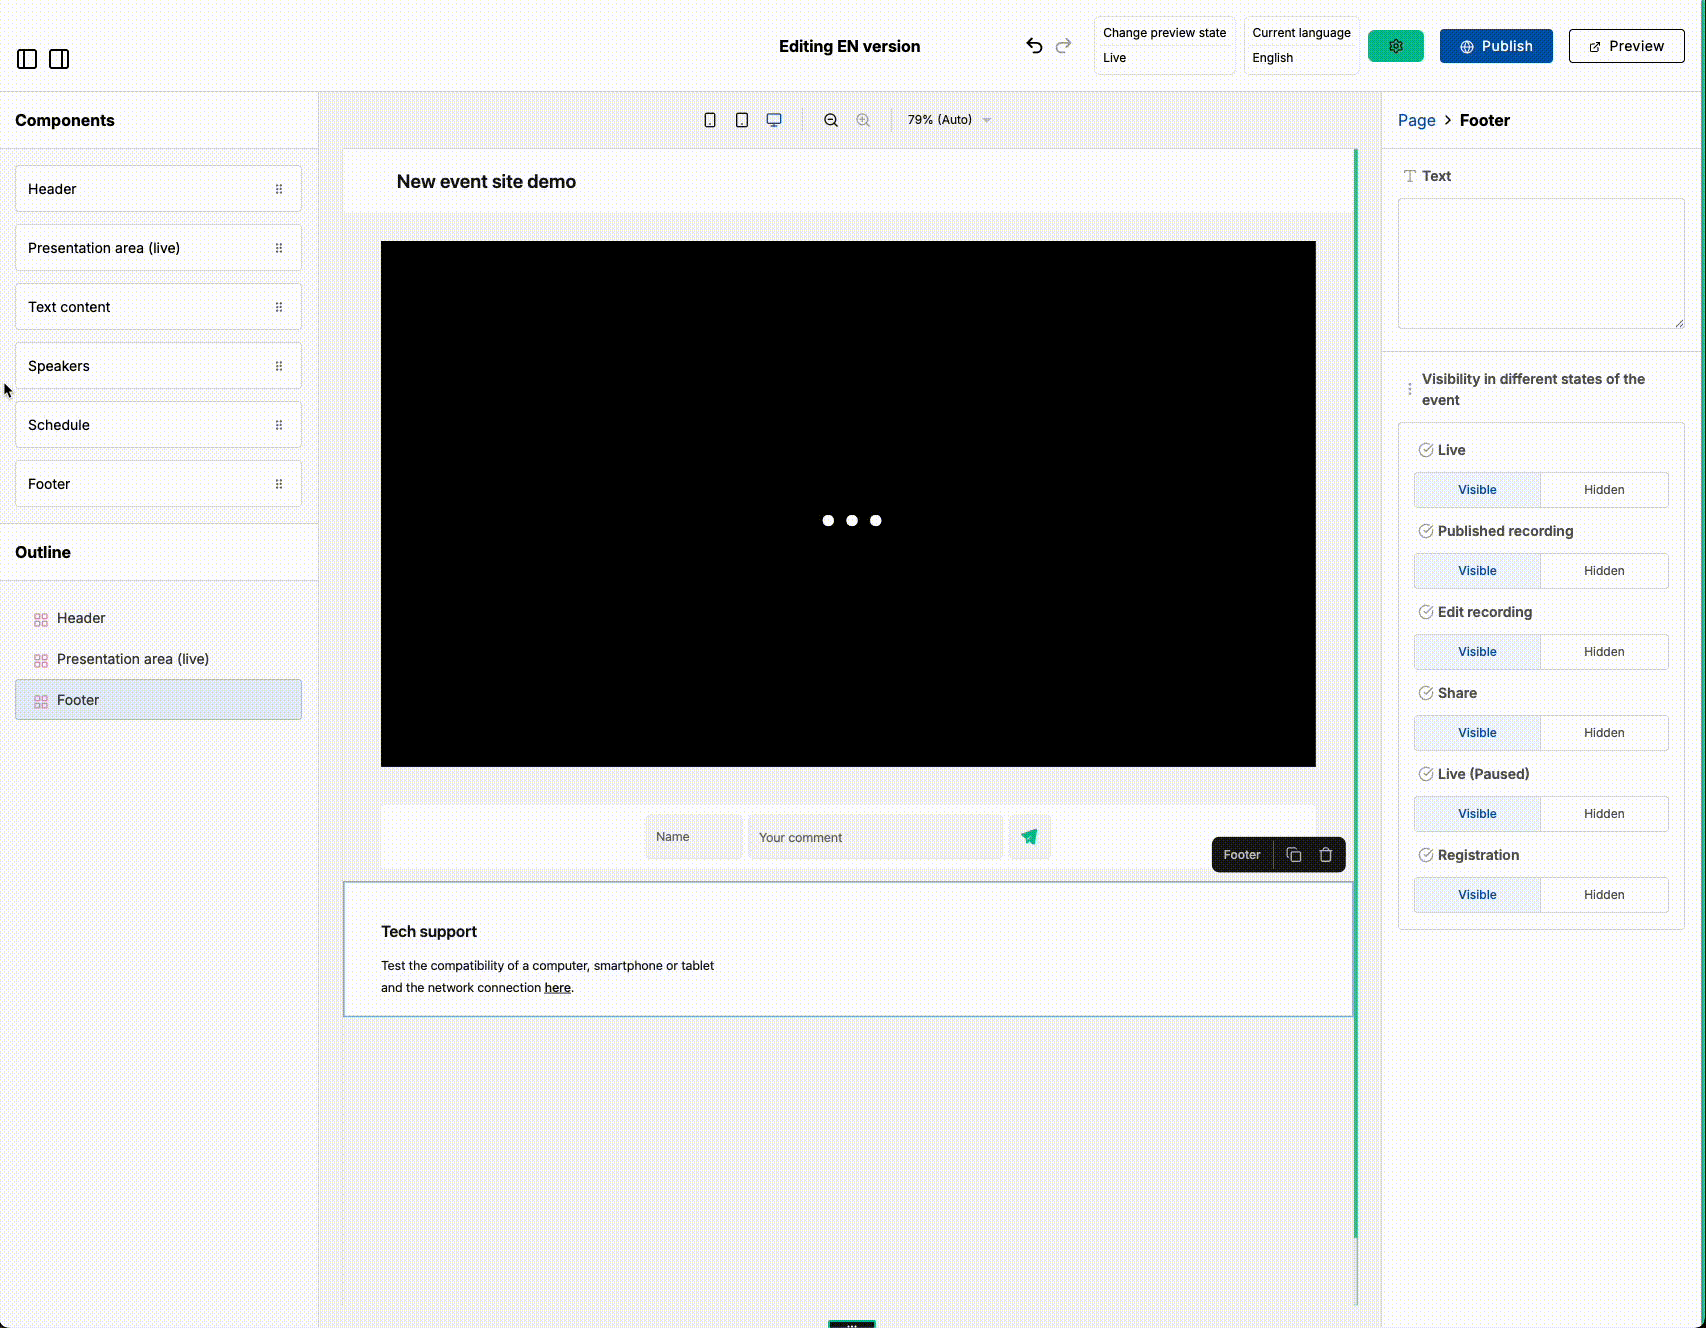
Clicking a component activates it and displays its settings on the right side
Text Input: Dial-in texts
- In the modal instructions, you can edit keywords:
{eventTitle},{conferenceId}, and{userId}. - These placeholders will be replaced with the corresponding values per event.
- Remember to add
#after{userId}and{conferenceId}.
Can't find what you're looking for?
Our AI assistant is here to help you find the information you need.